
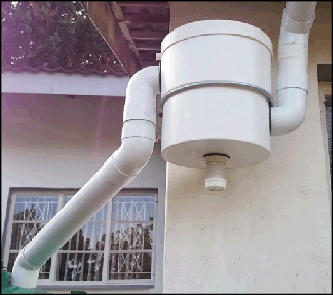

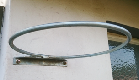
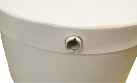
1. Attach mounting ring with the top outlet below the gutter level and above tank height.
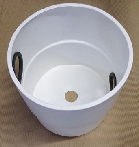
2. Insert seal rings to inlet and outlet.
3. Insert 90º bend with hole on outside of bend into outlet (TOP) Use some dishwashing liquid as lubricant on 90º bend
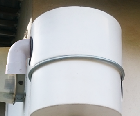
4. Insert retaining clip into hole on bend
.
.
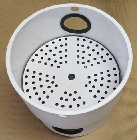
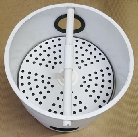
5. Place filter container in mounting ring.
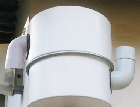
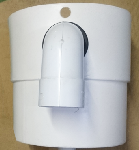
6. Insert 90* bend with hole on inside of bend into outlet (BOTTOM) Use some dishwashing liquid as lubricant on 90º bend
7. Insert retaining clip into hole on bend.
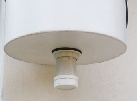
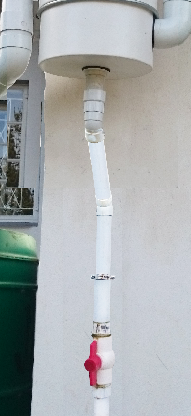
8. Install the waste pipe and waste pipe cap.
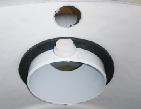
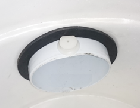
10. Place filter holder and overflow T-Piece through holes at top of filter. Turn to hold down filter and adjust until securely held in position.
11. Place one hole of lid on T-Piece, then slide level with container, closing lid and slide back through the second hole. Make sure slots on T-Piece face
Bottom

OPTIONAL FITMENT

down. ( If holes don’t line up turn lid around)
HOME WATER QUALITY FITMENT GALLERY AVAILABLE AT: